Wednesday 31 October 2012

Purple Console

I hope everyone had a great Halloween. 

When my kids were little I used to make them each costumes and we had a great time (out in the country) visiting with all the neighbours. There were of course the places my kids loved going, and the places they were secretly scared of going. Some people really put on a show! :) 

Of course now my kids are grown with homes of their own...so no more costumes to create. 

Sooooo in the mood for something with a bit of halloween colour to it, I decided to tackle this little console table. 

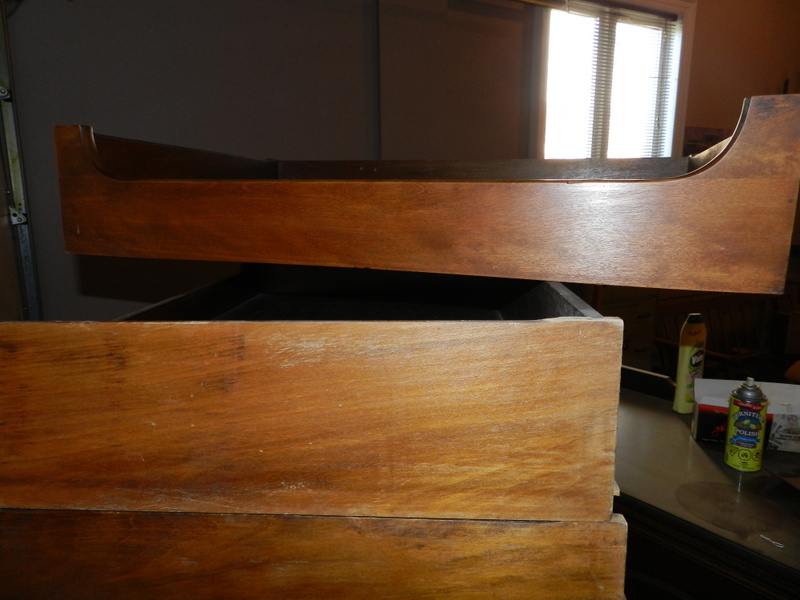
It came to me looking rather sad and neglected. 

 No knobs and no shelf inside. Yes I know there is a shelf there, but my wonderful hubby did that for me while I was at a meeting. Gotta love that man :)

 I love the extra effort that was taken to create a few extra curves for people like me who love curves of pretty much any kind.
All in all it was in pretty good shape. No real repairs needed. 

So I got to work. I thought of doing it a shade of green...so I started with painting the inside with an apple green. 
But when I started to lay the paint on the top...the darker green just wasn't grabbing me. 
So I looked around and saw this can of purple I had bought, but never felt it was right for anything....till today! 

 I quickly painted it before I changed my mind! Every feel that way? Do something quick?
 I felt it needed more, so out came the black glaze and I worked with it till I felt it was right.

 I left the inside alone. I'm loving the two colours together.


I added the glass knobs and set it up for you to see. 


Tuesday 30 October 2012

Teaser

Busy busy busy. 
Thought I would do a short update before I head out for the day. 

Last week I was in "my" junkin store and found another lovely sideboard (seems I'm in a sideboard season at the moment)

Ready? 

 Drawers did NOT need fixing for a change...yippie!!
 Loving the hardware
 Doors were busted beyond repair (most of one was missing and the other was in pieces)
 Love the Restore! Found exact copies of the doors on my first try :)
 EWWWWWWWWWWWW need I say more?
 Long drawers are great!
 Loving the mirror
Solid Oak...no veneer..happy me! 

 Lots of sanding, staining and painting, then glazing later.
 LOVE LOVE LOVE all the details on this baby!


 Used a lighter stain this time. One called Provincial.
I am in love...so is my husband, thankfully we don't have a spot for this one or I would seriously be tempted to keep it. 

Hoping to finish this one tomorrow as I'm booked up for the rest of today. 

Thinking of all of those who are affected by Sandy....stay safe out there! 

Sharing:
Primitive & Proper 
 

Thursday 25 October 2012

Finally catching up!

Last spring I found this amazing dresser. Sadly it was one of those things I brought home and then set off to the side in hopes of "getting to that one soon"
It had a bit of ripped veneer and the top was totally destroyed...but I loved her anyway. I'm crazy like that.


 I loved that the doors held hidden drawers and I really loved the fact that the front closed with a hidden latch. All the original hardware was with it, and in great condition. (happy dance)
Ah....so I need excuses for not doing this. Actually yesterday I told my DH (dear husband) that I have no idea why I waited..
Oh well she is done now.
I cleared away all the old veneer that was loose, filled it and then cleaned it all up before using my home made chalk paint on it.
This is what I've come up with.
 I glazed it and then did some light distressing on it.

 Totally in love with all the details on this piece :)


There are a few small missing pieces in the details, but I think that just adds character to it. 
 Then when you open her up there are three more drawers. I painted in a much lighter shade, and did the inside of the doors to match.

I keep picturing this one in a bathroom with all your toiletries hidden inside. Of course it could be used for a bedroom. What about an office? Wouldn't it just be perfect for the scrapbooker out there? 

And check out that hidden latch. I love little stuff like that. It doesn't take much to make this girl happy. :) 
What a difference eh? (yes the eh is definitely Canadian) 


Monday 22 October 2012

Made to Match :)

Two weeks ago I made a mistake that turned out well. I sold a sideboard twice. Which in the end turned out well for both my new client and myself. 
She loved the sideboard and wanted a table and chairs to match. 
Oyyyy what a job. I often come across great tables and chairs, but it's totally hit and miss. You know how it is, you can go out looking and never find just the right thing. I was so afraid this was going to happen here. But the very next day I just happened to stop in at one of my junking stores and found this.
 I was over the moon! The top had some major scratches and a stain that is hidden by the leaves, but it was going to get redone, so who cares...at least that's how I look at these things.

 The shape of the legs just fit perfectly with the sideboard I did.

 Can someone please please please explain to me why so many of the chairs I've picked up have had pillow cases covering them? Seriously, was there some fascination with pillow cases back in the 80's?
I can not begin to tell you how heavy and sturdy this table is. It's perfect for a young family who is going to really USE this table :) 

My client wanted to have it match the sideboard, so I got to work. She and I messaged via text back and forth when it came time to pick the material for the chairs. I'm so glad she was so easy going. Pictures are great, but they really don't show the colours exactly right and they certainly don't show you how the material feels or how it will hold up to kids. 
I'm not the best picture taker in the world...and well with cell phones my picture taking talent goes wayyyyyy down. 
Eventually she picked a grey fabric with black design. 
And the chairs turned out like this. 
 Now there is even a story behind the chairs. When I bought the table and chairs, there were 4 complete chairs. There was a 5th one, but it was in pieces. I bought it anyway, hoping that all the pieces were there to put back together again. There was. Well kinda. The seat was missing but that's easy enough to cut out and put in place.

Now if you will notice the arm chair is slightly different. My client wanted 6 chairs, completely understandable. So off I went searching again. And again, the second day of looking...I hit pay dirt. Yes I know it's not a complete match, but it works well, especially since it's the arm chair :) 
Then off to work on the table itself. 
The stripping was really a pain. It seemed like there was 1/4 inch of shellac on the table top alone. It took me a full day of stripping and sanding it to get it down to where I could finally stain it. Then 3 coats of a heavy duty poly. 
And finally we have a complete set. 
 I know I know, the pictures were taken in my garage. But in my defense I was alone and couldn't move them all into the house on my own. Plus this was this morning and they are coming to pick up the set tomorrow morning. So really a lot of work for a couple of pictures.
 Didn't that top come out amazing? Sometimes I sit back and see the magic happen and wonder how it happens. I know the work involved but to me it's almost like watching it and not being a part of it. Hard to explain.
 I love how the details just come alive when highlighting them.

So what do you think...does it go with the sideboard? 
Some days I feel so blessed to be doing what I'm doing and loving every min of it.